Examples
Launch the app
From the terminal:
vexy-lines-run
From Python:
from vexy_lines_run import launch
launch()
As a module:
python -m vexy_lines_run
All three do the same thing: open the GUI in dark mode.
Batch convert .lines files to SVG
You have a folder of .lines documents and want PNG or JPG versions of their embedded previews.
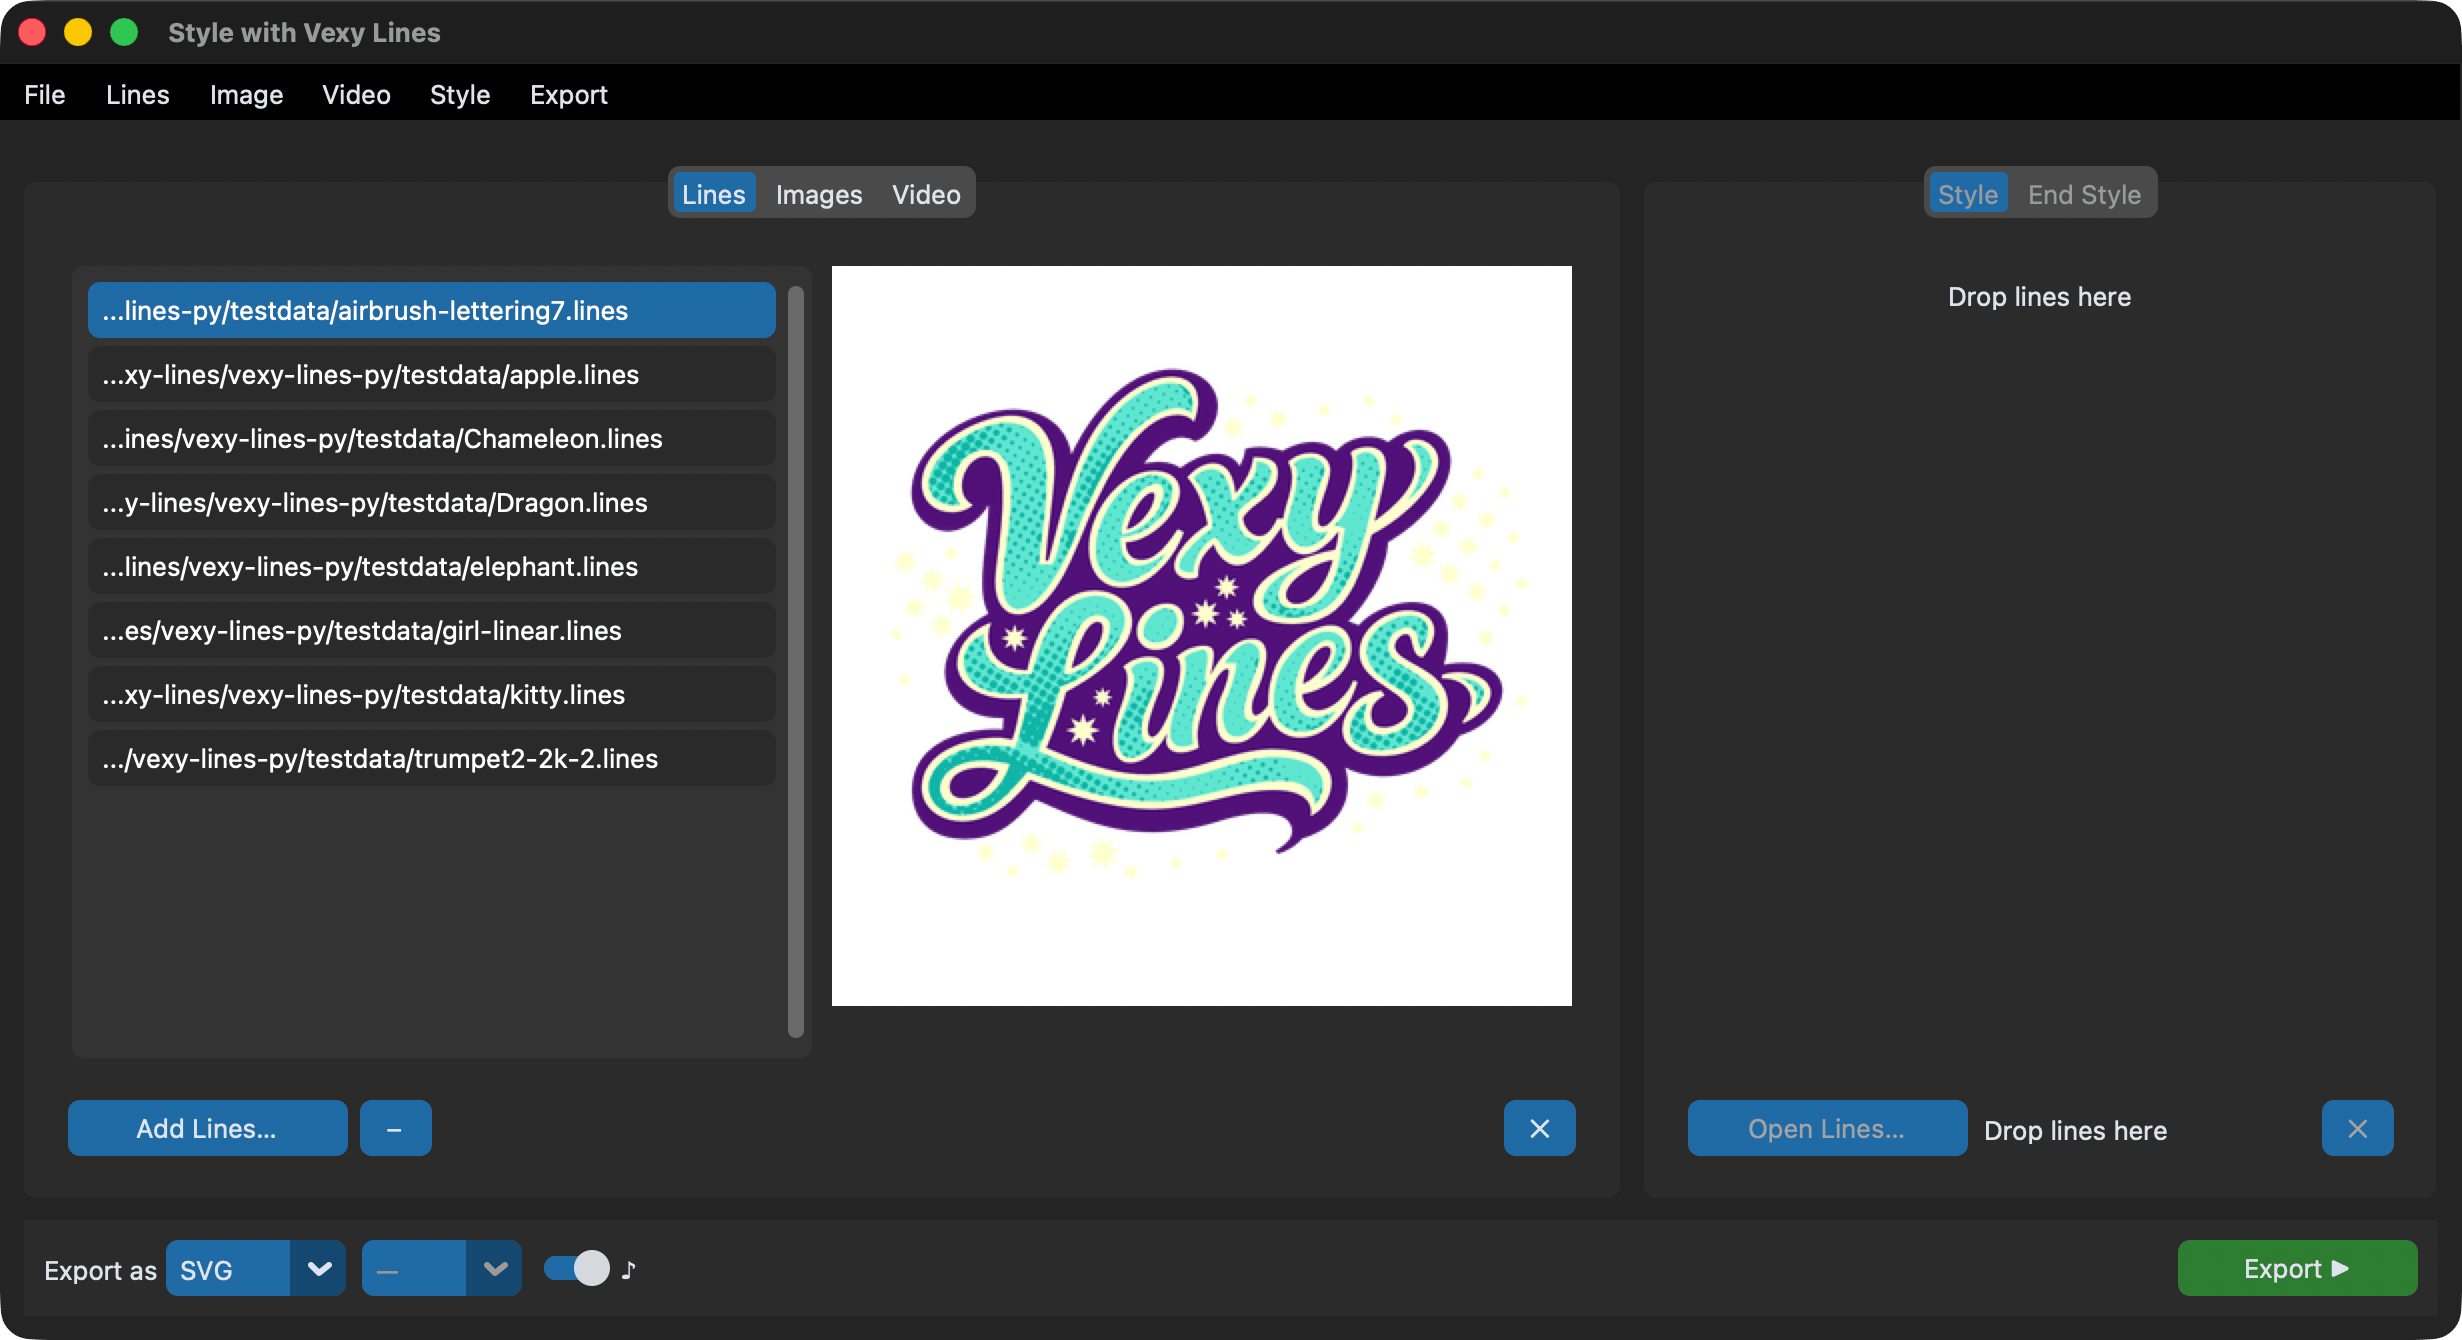
- Switch to the Lines tab
- Click + and select your
.linesfiles (or drag them onto the file list) - Set format to PNG or JPG
- Click Export ▶ and choose an output folder
- Each file's embedded preview image is extracted and saved
No style needed: Lines mode extracts previews directly from the files.
Want plain copies? Set format to LINES and the files are copied to the output folder. No MCP, no rendering, only a file copy.
Want SVG output? SVG export from .lines files isn't available in Lines mode. Instead, switch to Images mode, load the source images, pick a style, and export as SVG. Or use the CLI for direct MCP-based export.
Apply a halftone style to 50 product photos
You have 50 product photos. You want them all rendered as halftone vector art.
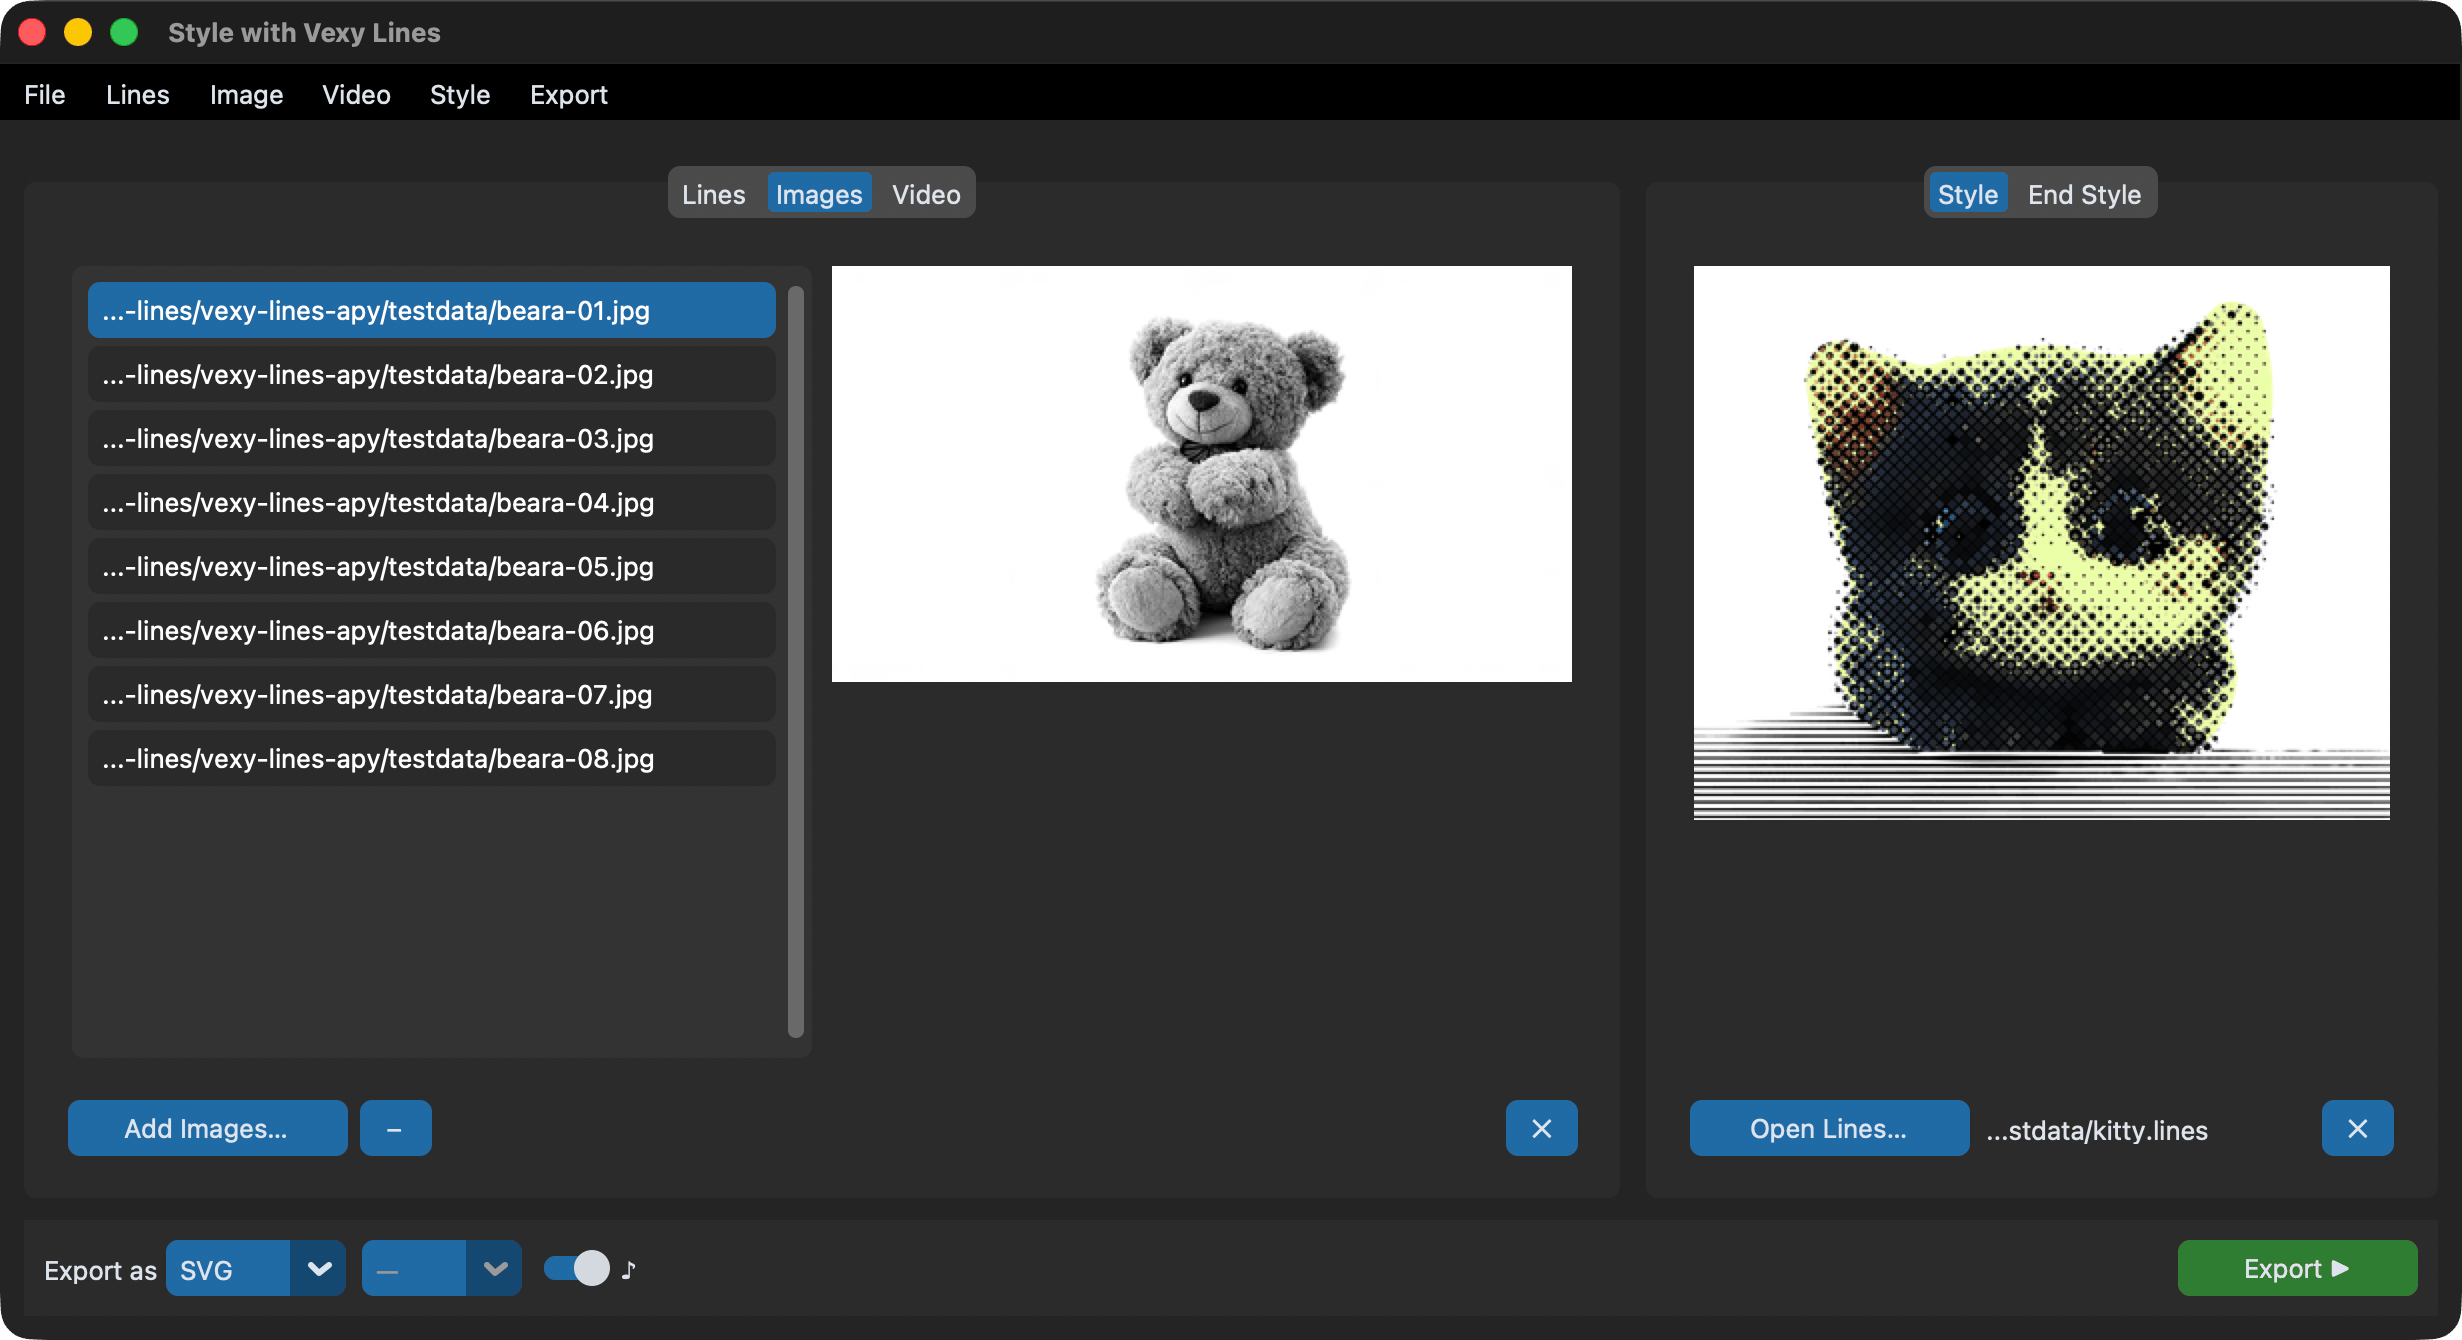
- Switch to the Images tab
- Click + and select all 50 photos (PNG, JPG, WEBP, or any other raster format)
- Click + in the Style panel and pick a
.linesfile with the halftone look you want - The style preview appears immediately. Check it's the right one
- Choose SVG for vector output, or PNG/JPG with a size multiplier (2x doubles the resolution)
- Click Export ▶ and choose an output folder
- The export button shows progress: "35% Styling product_07..."
- Done. Fifty styled images in the output folder, named after the originals
If one photo fails (corrupt file, MCP timeout), the app logs a warning and moves on. The other 49 still export.
Re-export .lines files with a different style
You have a collection of .lines documents and want to apply a completely different artistic style to all of them.
- Switch to the Lines tab
- Drag your
.linesfiles onto the file list (or use +) - In the Style panel, load the new style you want to apply
Wait: the Style panel is grayed out on the Lines tab. That's by design: .lines files carry their own fill structure. To restyle them:
- Extract the source images from the
.linesfiles first (export as PNG from Lines mode) - Switch to the Images tab
- Load the extracted PNGs
- Now load the new style in the Style panel
- Export as SVG/PNG/JPG
Style interpolation across a sequence
Load 60 frames from an animation. Set a "clean lines" primary style and a "chaotic scribble" end style. Frame 1 gets pure clean lines, frame 60 gets pure scribble, and everything in between blends proportionally.
- Load your frames in the Images tab (JPGs named
frame_001.jpgthroughframe_060.jpg) - Click + in the Style panel and pick the clean lines style
- Switch to the End Style tab and click + to pick the scribble style
- Export as PNG at 2x
The blend factor t for frame i of N total frames is i / (N - 1). Both styles must be structurally compatible: same number of groups, layers, and fills with matching fill types. If they don't match, the export will show an error.
Create a 30-second styled video from MP4
Turn a 30-second clip into vector art, frame by frame.
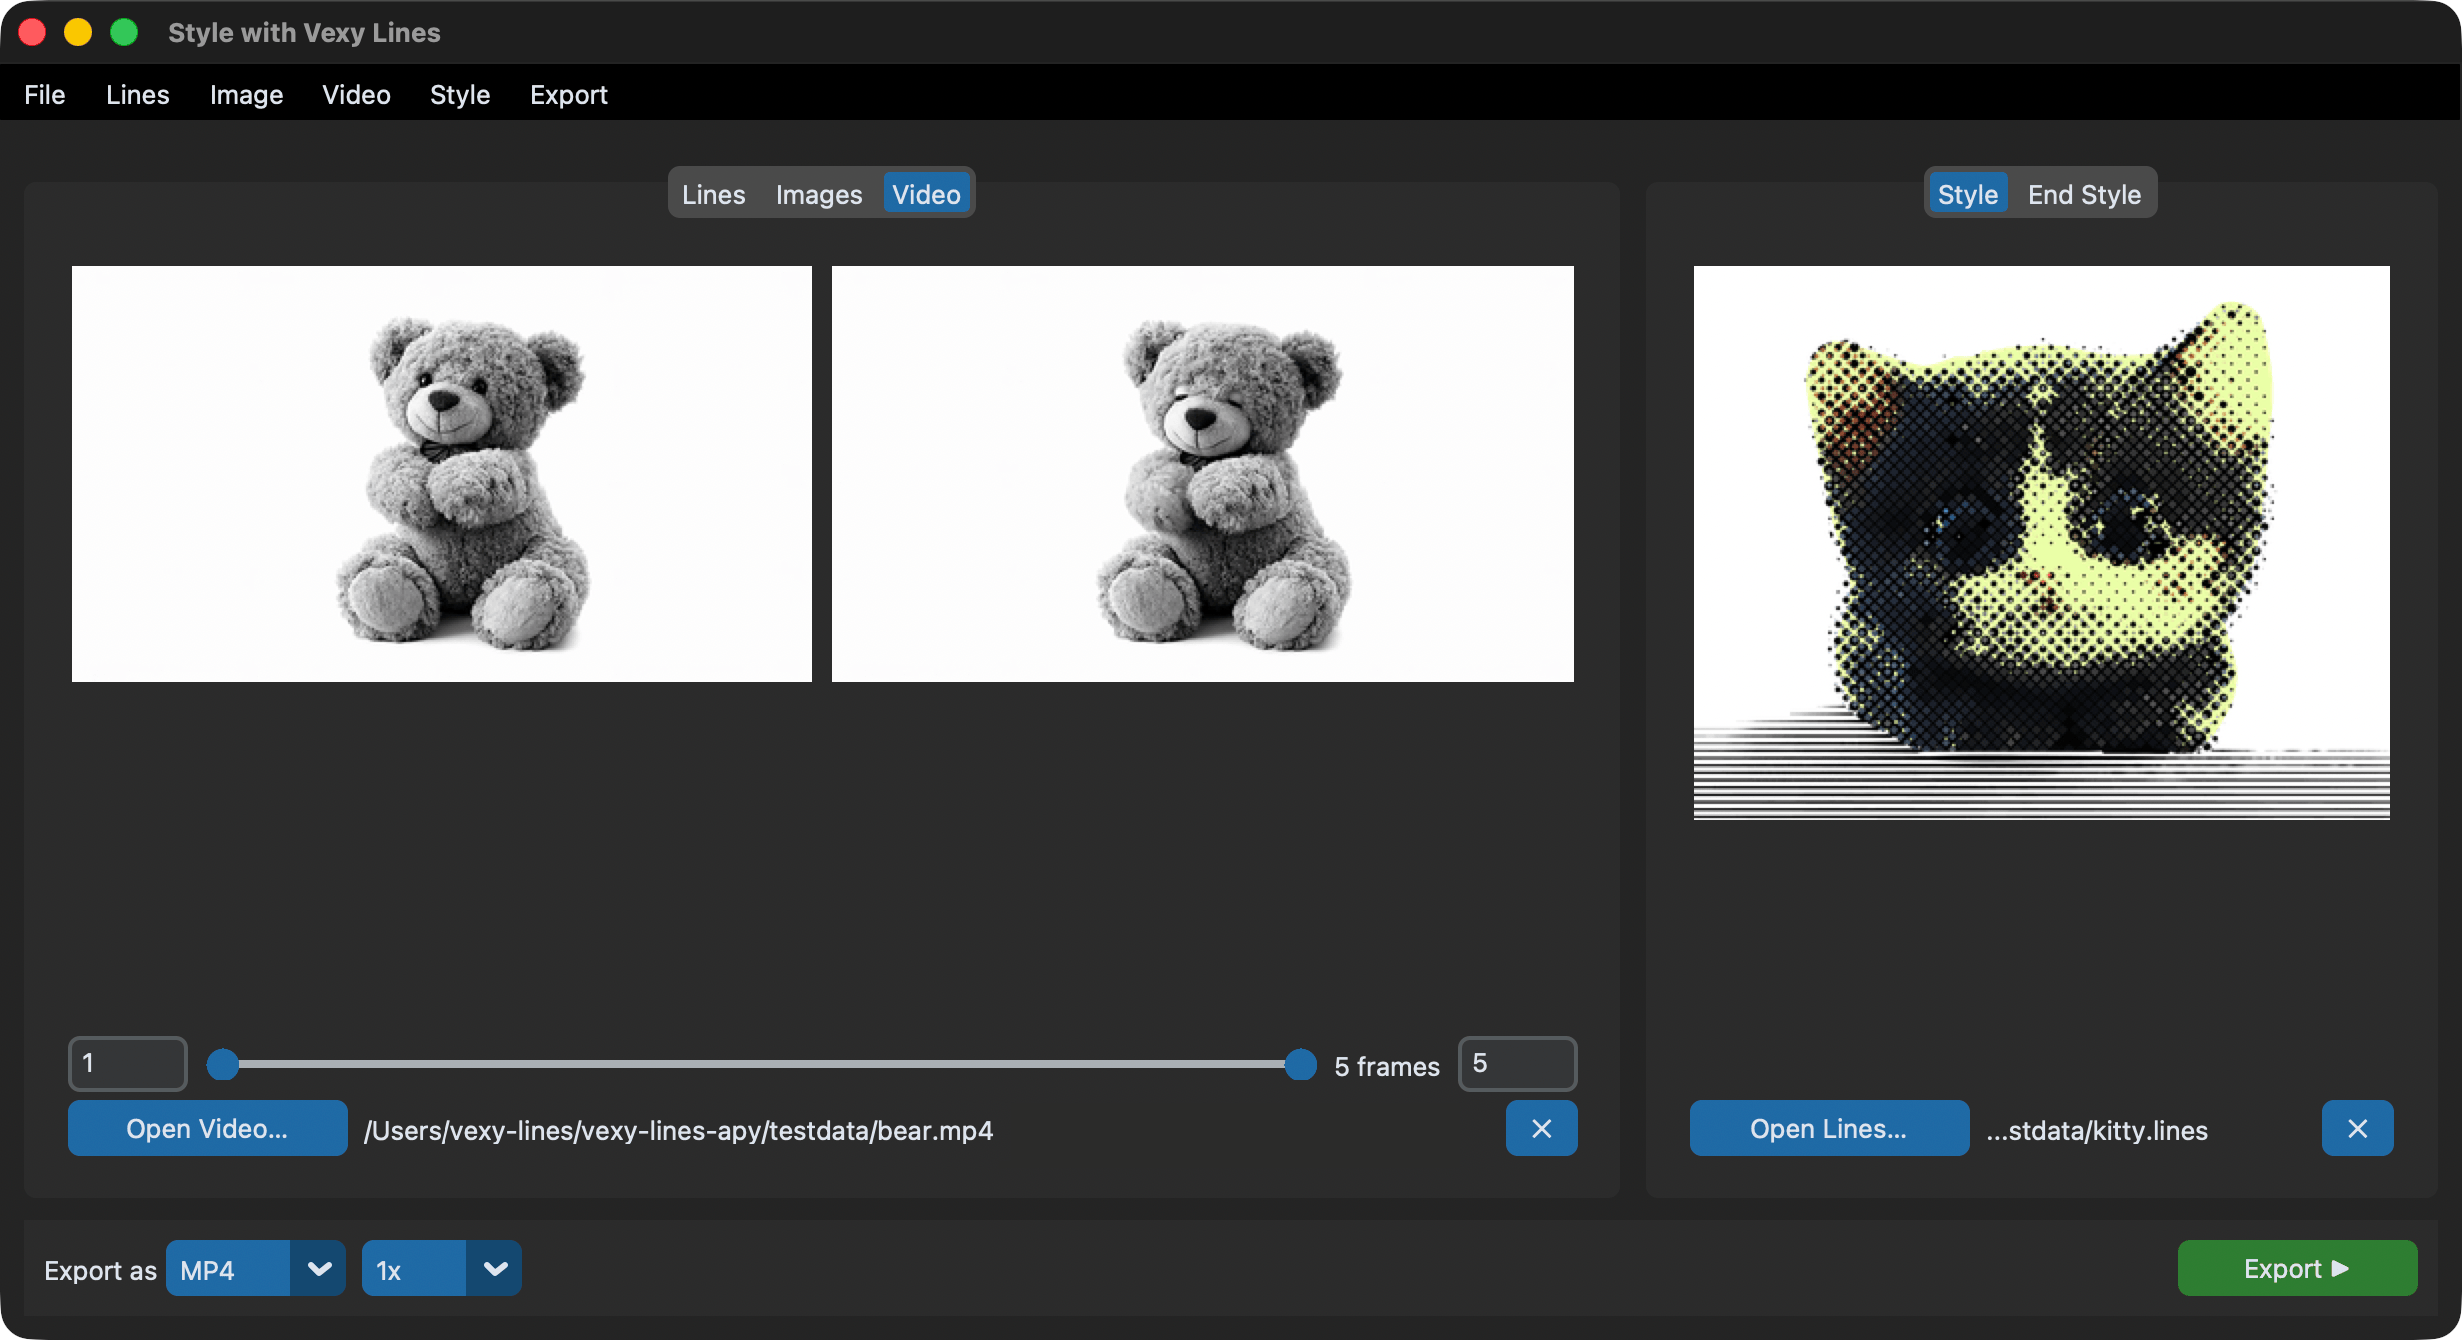
- Switch to the Video tab
- Click + and load your
clip.mp4 - The first and last frames appear as previews. The range slider shows 1 to total frames.
- For a test run, narrow the range to just 5-10 frames (drag the slider handles or type exact frame numbers)
- Load a style in the Style panel
- Choose MP4 as format
- Click Export ▶ and pick a save location
- The button shows progress: "3% Frame 12/450"
- Once satisfied with a test, reset the range (Video menu > Reset Range) and export the full video
Audio passthrough
If the source video has audio, the audio toggle (♪) appears when: - Format is MP4 - Full frame range is selected - You're on the Video tab
Toggle it on to keep the original audio. The app writes styled video first, then merges audio using ffmpeg. Make sure ffmpeg is on your PATH.
Export as frame images instead
Choose PNG or JPG instead of MP4. The app saves each frame as a separate file (frame_000001.png, frame_000002.png, etc.) in the folder you choose. Useful when you want to assemble the video yourself or need individual frames for compositing.
Process video with frame range selection
You only want frames 100–200 of a 1000-frame video:
- Load the video on the Video tab
- Type
100in the start entry, press Enter - Type
200in the end entry, press Enter - The previews update to show frame 100 and frame 200
- The count label reads "101 frames"
- Load a style and export
The frame range is 1-indexed and inclusive. Frame 100 and frame 200 are both included in the output.
Note: Audio passthrough is only available when the full frame range is selected. Partial ranges always produce silent video.
Use style interpolation for an animated video
Combine video processing with style interpolation to create a gradually transforming effect:
- Load a video on the Video tab
- Load a "clean lines" style as the primary style
- Switch to End Style and load a "scribble" style
- The first frame gets 100% clean lines, the last frame gets 100% scribble, and everything in between blends smoothly
- Export as MP4
This works for frame image export too: each frame file gets the interpolated style for its position in the sequence.
Drag-and-drop workflow
Skip file dialogs entirely:
- Drag
.linesfiles onto the Lines tab list or preview area - Drag photos onto the Images tab list or preview area
- Drag a video onto the Video tab preview areas or path label
- Drag a
.linesfile onto the Style panel to load it as primary style - Drag a
.linesfile onto the End Style panel to load it as end style
The app filters by extension. Dropping a PNG on the Lines tab does nothing. Dropping a duplicate file is silently ignored.
Probe video metadata from Python
from vexy_lines_run.video import probe

info = probe("clip.mp4")
print(f"Resolution: {info.width}x{info.height}")
print(f"FPS:        {info.fps}")
print(f"Frames:     {info.total_frames}")
print(f"Duration:   {info.duration:.1f}s")
print(f"Audio:      {'yes' if info.has_audio else 'no'}")
probe() reads metadata without decoding frames, so it returns instantly even for large files. Requires OpenCV.
Use the range slider widget standalone
The dual-handle range slider is a reusable CustomTkinter widget. Use it in your own apps:
import customtkinter as ctk
from vexy_lines_run.widgets import CTkRangeSlider

root = ctk.CTk()
root.geometry("400x100")

def on_change(low, high):
    print(f"Range: {low:.0f} – {high:.0f}")

slider = CTkRangeSlider(
    root,
    from_=0,
    to=300,
    number_of_steps=300,  # integer steps
    command=on_change,
)
slider.pack(padx=20, pady=20, fill="x")

root.mainloop()
The slider supports horizontal and vertical orientations, variable binding (tk.IntVar / tk.DoubleVar), step quantization, hover highlighting, and full CustomTkinter theming (dark/light mode, custom colors).
Run the processing pipeline from a script
For automation without the GUI, call the processing module directly:
from vexy_lines_run.processing import process_export

def on_progress(current, total, message):
    print(f"[{current}/{total}] {message}")

def on_complete(message):
    print(f"Done: {message}")

def on_error(message):
    print(f"Error: {message}")

# Style transfer on a batch of images
process_export(
    mode="images",
    input_paths=["photo1.jpg", "photo2.jpg", "photo3.jpg"],
    style_path="halftone.lines",
    end_style_path=None,
    output_path="./output",
    fmt="SVG",
    size="1x",
    audio=False,
    frame_range=None,
    on_progress=on_progress,
    on_complete=on_complete,
    on_error=on_error,
)
This runs synchronously on the calling thread. To run in the background (like the GUI does), wrap it in a threading.Thread:
import threading

thread = threading.Thread(
    target=process_export,
    kwargs={
        "mode": "images",
        "input_paths": ["photo1.jpg"],
        "style_path": "style.lines",
        "end_style_path": None,
        "output_path": "./output",
        "fmt": "PNG",
        "size": "2x",
        "audio": False,
        "frame_range": None,
        "on_progress": on_progress,
        "on_complete": on_complete,
        "on_error": on_error,
    },
    daemon=True,
)
thread.start()
thread.join()  # wait for completion
Extract .lines previews from a script
from vexy_lines_run.app import extract_preview_from_lines

image = extract_preview_from_lines("artwork.lines")
if image is not None:
    image.save("preview.png")
    print(f"Extracted {image.size[0]}x{image.size[1]} preview")
else:
    print("No preview image found in file")
Process video with style objects from Python
For full control over video processing with style interpolation:
from vexy_lines_run.video import process_video_with_style
from vexy_lines_api.style import extract_style, styles_compatible

start = extract_style("clean_lines.lines")
end = extract_style("scribble.lines")

if not styles_compatible(start, end):
    print("Styles are not compatible for interpolation")
else:
    info = process_video_with_style(
        input_path="clip.mp4",
        output_path="styled_clip.mp4",
        style=start,
        end_style=end,
        start_frame=0,     # 0-based
        end_frame=150,      # 0-based, exclusive
        dpi=72,
        on_progress=lambda i, t: print(f"Frame {i}/{t}"),
    )
    print(f"Processed {info.total_frames} frames")
Note: start_frame and end_frame in process_video_with_style() are 0-based, unlike the GUI's 1-indexed display.